Installing solar street lights is an eco-friendly way to illuminate outdoor spaces. Many people wonder how to install solar street lights without professional help. With the right tips, anyone can take on this project confidently.
When you decide to install solar street lights yourself, consider the location first. The area should receive sufficient sunlight during the day. Pay attention to any obstacles that might cast shadows on the lights. It’s also crucial to check local regulations regarding outdoor lighting. Gaps in understanding these rules may lead to fines or removal of your lights.
Arming yourself with the right tools can make a difference. Gather a shovel, a level, and a measuring tape. These make the installation process smoother. Throughout the project, remember that mistakes can happen. Reflect on what works and what doesn’t, allowing for adjustments. This hands-on experience not only enhances your skills but also builds confidence in DIY home improvements.
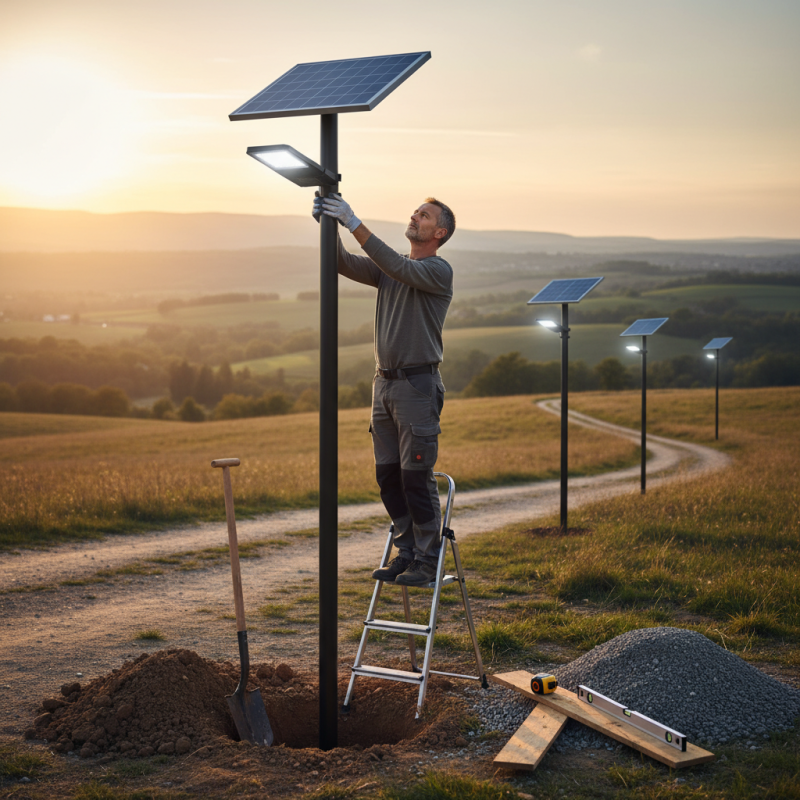
Understanding solar street lights is crucial before installation. These lights come in various types, including standalone units and grid-tied systems. Standalone models have integrated solar panels, batteries, and lights, making them ideal for remote areas. Grid-tied systems easily connect to existing electrical infrastructure but rely on the grid for power.
When choosing solar street lights, consider their specifications. Lumen output determines brightness, affecting visibility at night. Look into battery capacity, as it affects how long the lights stay on after sunset. Most systems use LED bulbs for efficiency and longevity. It's also vital to factor in solar panel size, as larger panels generate more energy.
Installation can be straightforward yet requires careful planning. Measure the area to optimize light coverage. Make note of any shading from trees or buildings. Reflect on your choices, as improper setup can lead to inadequate performance. Each location has its unique challenges, so consider adapting the installation based on local conditions.
When installing solar street lights, having the right tools and materials is crucial.
You will need basic hand tools like a wrench, screwdriver, and pliers.
These tools help you secure brackets and wires effectively. A drill is also important for creating mounting holes.
Without the correct drill bits, you may struggle with installation.
Next, gather materials such as solar panels, batteries, and LED lights.
Ensure the components are compatible. Pay attention to the wiring. You might encounter confusion if the wiring instructions are unclear.
Having a multimeter handy can help verify connections.
Additionally, consider safety gear.
Gloves and safety glasses protect during installation.
Sometimes, you may need a ladder to reach high places.
But, be cautious. A misplaced step could lead to accidents.
Always double-check your measurements. Installing with precision can prevent future adjustments and complications.
Choosing the right installation location for solar street lights is crucial for optimal performance. Research indicates that solar street lights need direct sunlight for at least six hours a day. Shade from trees and buildings can significantly reduce their efficiency. Assess your site carefully. Use a solar pathfinder tool to evaluate sunlight availability throughout the day. This not only saves energy but also maximizes the lifespan of your lights.
Distance from potential obstructions should also be a priority. The lights must be placed at a height that minimizes light pollution and enhances visibility. According to industry standards, a height of 10 to 15 feet above ground is ideal. Additionally, community input can guide decisions on placement. Engaging with residents creates support and may highlight local concerns about light intensity and placement.
Environmental factors are a critical consideration. Areas prone to strong winds or heavy precipitation may require additional support structures. Using weather-resistant materials can save on maintenance costs in the long run. The installation process is not merely technical; it requires reflection on community needs, environmental impact, and long-term sustainability. Understanding these factors can lead to a more effective and responsible installation of solar street lights.
When installing solar street lights, it's crucial to consider the electrical requirements. Ensure you have a clear understanding of the local voltage and wattage specifications. Identify the placement of the panels. Proper orientation maximizes sunlight exposure. This impacts the overall efficiency of the lighting system. Remember, inadequate sunlight can lead to insufficient energy.
Environmental considerations are also vital. Conduct a site assessment before installation. Check for surrounding trees or buildings that might block sunlight. This can significantly reduce the effectiveness of solar panels. Additionally, consider the local climate. Rainy or cloudy regions may require different solar technology than sunny areas. Anticipate potential issues related to weather and time available for installation.
Lastly, take time to review local regulations on outdoor lighting. Safety codes might dictate installation heights and luminosity levels. Adhering to these can prevent future complications. Gathering this information before proceeding will enhance your project’s chance of success. Consider all factors carefully to avoid unexpected headaches later.
| Tip Number | Installation Tip | Electrical Considerations | Environmental Considerations |
|---|---|---|---|
| 1 | Choose the Right Location | Ensure enough sunlight exposure throughout the day | Avoid areas with excessive shade from trees or buildings |
| 2 | Check Local Regulations | Verify electrical installation requirements with local codes | Adhere to environmental protection guidelines |
| 3 | Select Quality Components | Use high-efficiency solar panels and batteries | Opt for eco-friendly materials |
| 4 | Plan Wiring Layout | Use the correct gauge wire based on distance | Minimize disturbance to natural habitats |
| 5 | Install at Proper Height | Ensure optimal light distribution from the fixture | Consider visual impact on surrounding areas |
| 6 | Test the System Before Finalizing | Check all connections and system output | Assess any light pollution issues |
| 7 | Secure All Components | Use weatherproof fasteners and fixtures | Ensure installation does not harm local wildlife |
| 8 | Consider Battery Placement | Avoid extreme temperatures that affect battery performance | Ensure that the battery compartment is secure from animals |
| 9 | Plan for Maintenance Access | Ensure easy access to solar panels and wiring | Minimize landscape disruption for future maintenance |
| 10 | Monitor Performance Regularly | Check energy output and adjust settings if required | Observe local fauna activity to ensure minimal impact |
Installing solar street lights can be a rewarding DIY project. However, many people make common mistakes that can lead to frustrating outcomes. One key error is selecting the wrong location for installation. Ideally, lights should get full sun exposure for optimal performance. Take time to evaluate your chosen spot before proceeding.
Another frequent oversight is improper mounting. Many users fail to secure the fixtures adequately. Loose installations can result in misalignment or damage from strong winds. Use sturdy mounts and ensure they are fixed tightly. Additionally, check the angle of the lights. They should be adjusted to maximize solar energy collection.
When installing, use quality tools and materials. Opt for weather-resistant components to enhance durability. Avoid rushing through the process; precision matters. Neatly plan the wiring and connections. A messy setup not only looks bad but can also lead to malfunction. Consider involving a friend for an extra pair of hands. Having someone to help can lead to a smoother installation experience, reducing the chance for mistakes.
This bar chart displays common mistakes to avoid when installing solar street lights yourself, along with tips for effective installation.
: There are standalone units and grid-tied systems. Standalone lights are ideal for remote areas.
Lumen output determines brightness and visibility at night. Higher lumens mean brighter lights.
Battery capacity affects how long lights stay on after sunset. Choose a system with sufficient capacity.
Measure the area and account for shading from trees or buildings. Proper planning is essential.
Install them 10 to 15 feet above the ground. This height enhances visibility and minimizes pollution.
Avoid poor location choice, improper mounting, or using low-quality materials. Take your time to ensure precision.
Use a solar pathfinder tool to evaluate sunlight availability throughout the day. Assess distances from obstructions too.
Yes, engaging with residents can highlight local concerns. Their support can guide better placement decisions.
Opt for weather-resistant components to ensure durability. High-quality materials minimize maintenance needs.
Each location presents unique challenges. Reflecting can lead to better performance and responsible installations.
Installing solar street lights can be a rewarding DIY project, and understanding the varieties available and their specifications is the first step towards a successful setup. Key tools and materials are essential for installation, including mounting brackets, batteries, and solar panels. When determining the right installation location, consider factors such as sunlight exposure and potential obstructions.
Electrical and environmental considerations are also critical in ensuring the lights function optimally and meet local regulations. To avoid common pitfalls, it's essential to be aware of mistakes like improper wiring or inadequate sun exposure. By following these guidelines, you can confidently learn how to install solar street lights without professional help, enhancing safety and sustainability in your community.

Lumina Light